From the main Point of Sale (POS) Menu Screen.
After logging in to Skyware Systems, from the quick menu on the left select Point of Sale (POS).
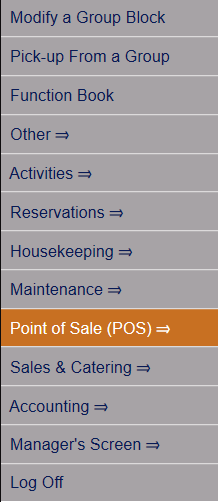
Note: The exact arrangement of the options in your quick menu may differ from this example.
This will take you to the main Point of Sale (POS) Menu screen.
a.i. Select the Create/Open Check command by clicking on it.

a.ii. This will take you to the Point of Sale (POS) Restaurant Log in page.
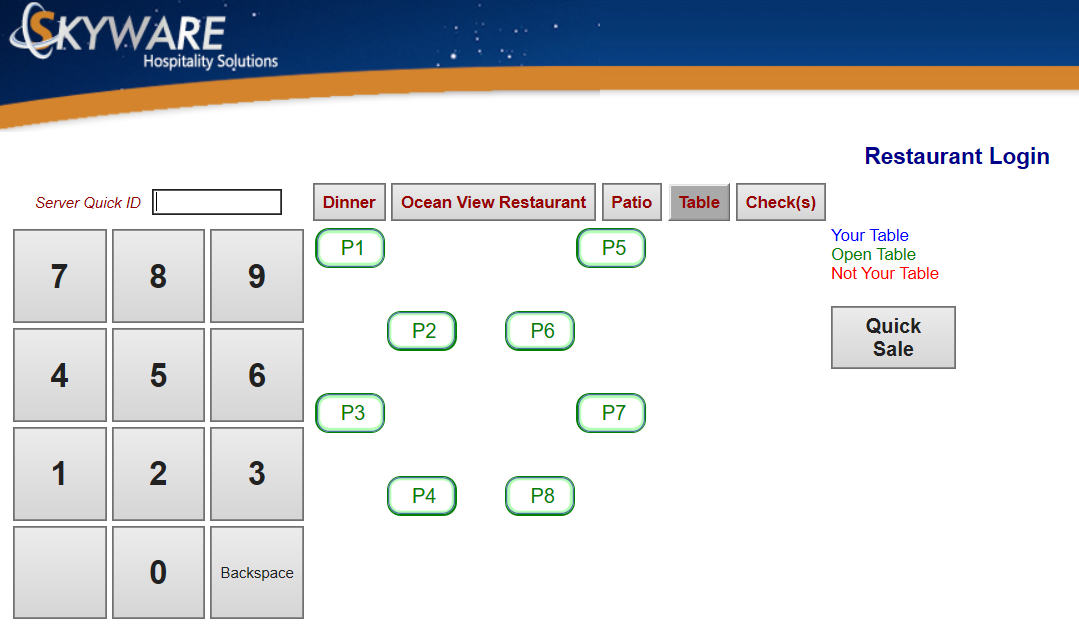
Enter your Server ID.
Type the User number into the Server Quick ID log in field to make the rest of the screen live.
This can be done using the keyboard, or by using the keypad on the screen.
You cannot create a check or view open checks for your tables in the restaurant start page without a server ID number. This page has several areas that only become live after log in. If changes are attempted without user ID being entered the screen will revert back to the original with the red banner A Quick ID is required!
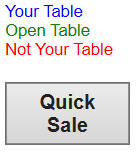
- Click the Table command, and select one of your tables (listed in blue) from the Table list. This will automatically take you to the restaurant check page. Clicking on the Table command will show checks at specific tables (in parenthesis is the number of checks at the table).
-
There is a button next to Table for Checks that will list all the table checks that are open.
- Click Quick Sale in the restaurant start page (on right) and when taken to the restaurant check page select one of the open checks listed in the Checks list on the left. Clicking on Quick Sale will only show open Quick Sale checks.
- Use the Check(s) tab (Open Checks command) in the main bar on the restaurant log in page to see a list of all open checks, and select one to view.
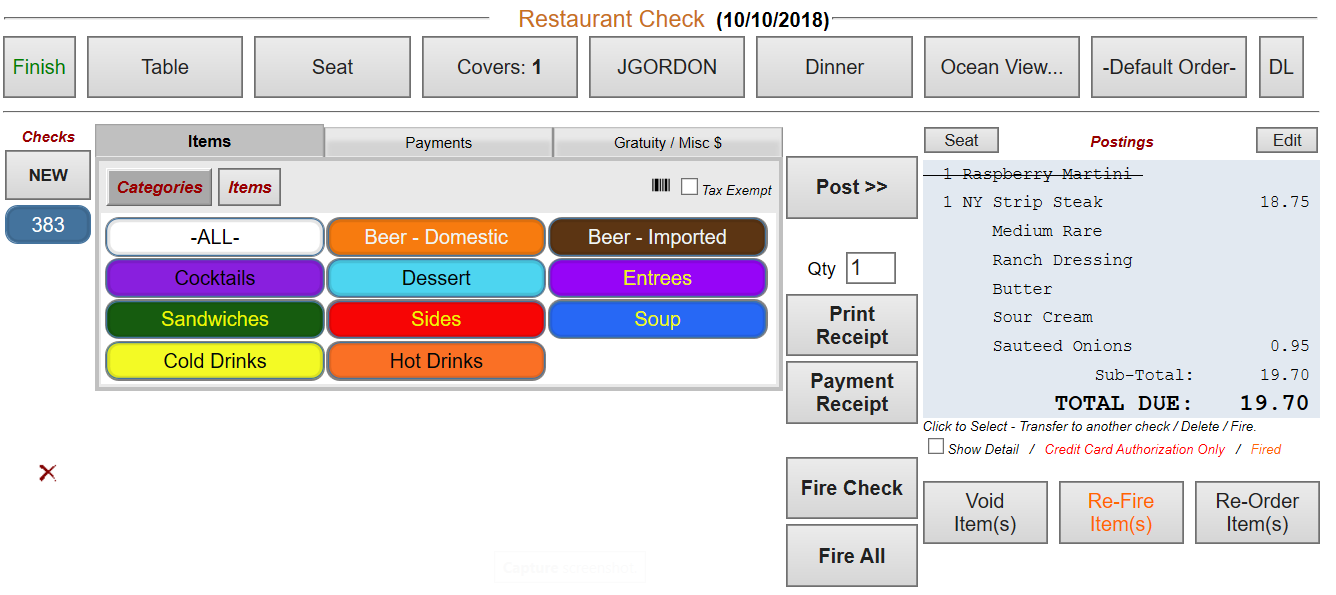
After the table is selected, or the Quick Sale button clicked, the screen changes to show the Restaurant Check screen.
b. You can also reach the Quick Sale restaurant check screen from the Point of Sale (POS) Main menu screen.

Clicking on the command will take you directly to the Quick Sale Restaurant Check screen. See also Create a Quick Sale Check.
From the Point of Sale (POS) Restaurant Log in page directly.
Your system may be configured such that the first screen you see is the Point of Sale (POS) Restaurant Log In page; if so, see a.ii above for details on selecting which check to open.